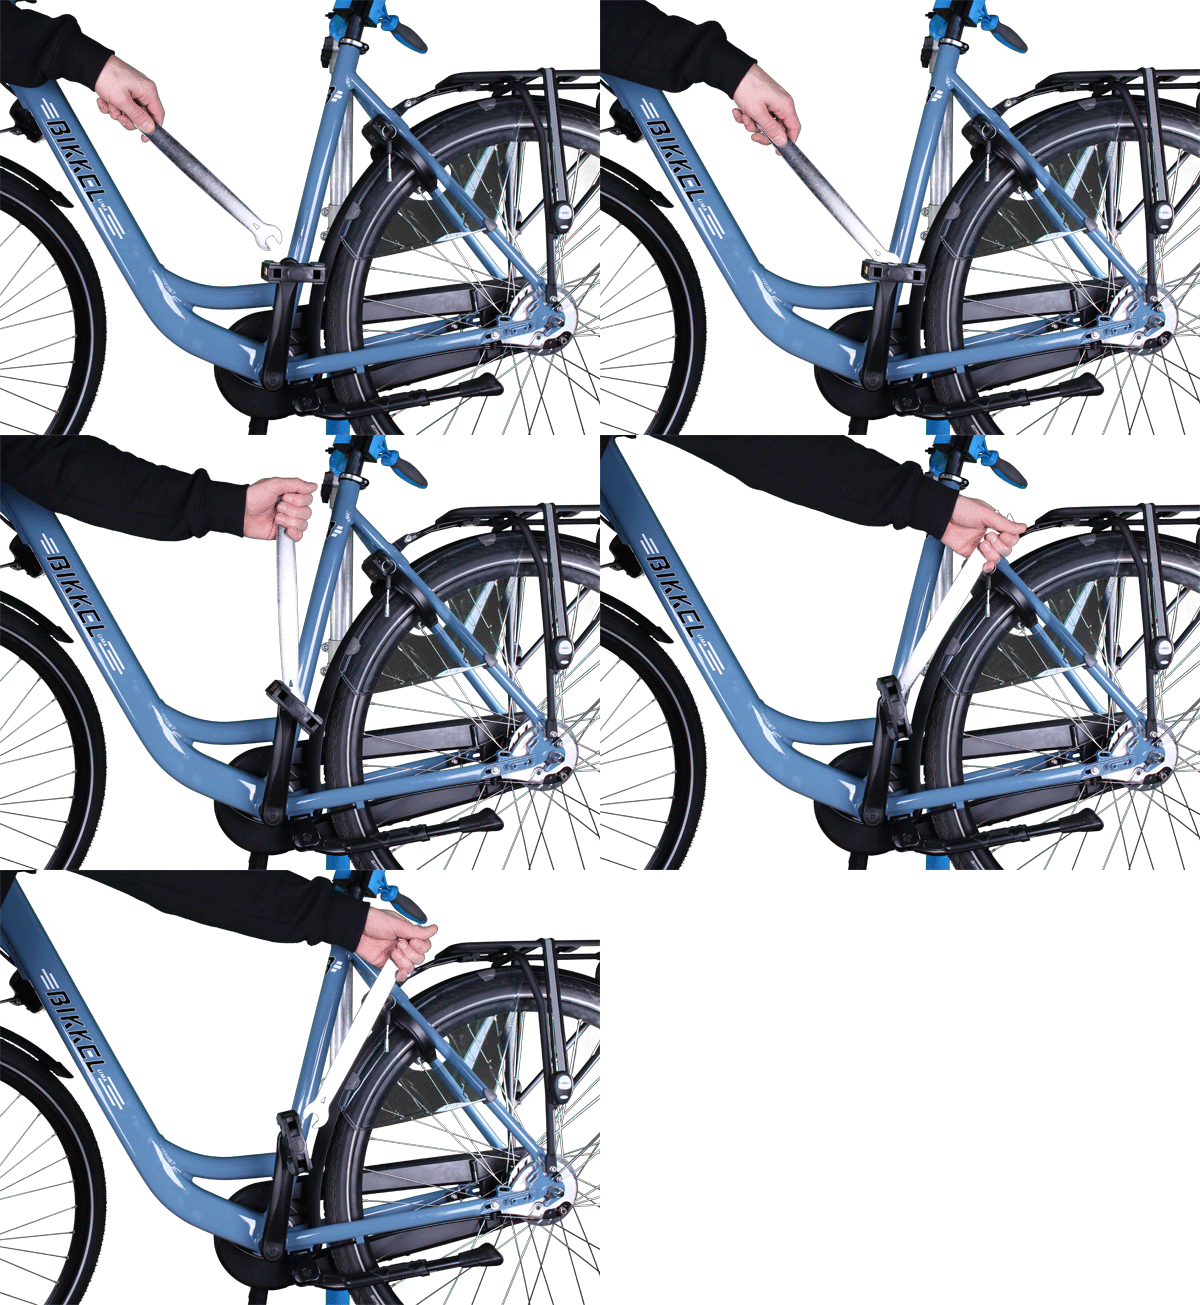
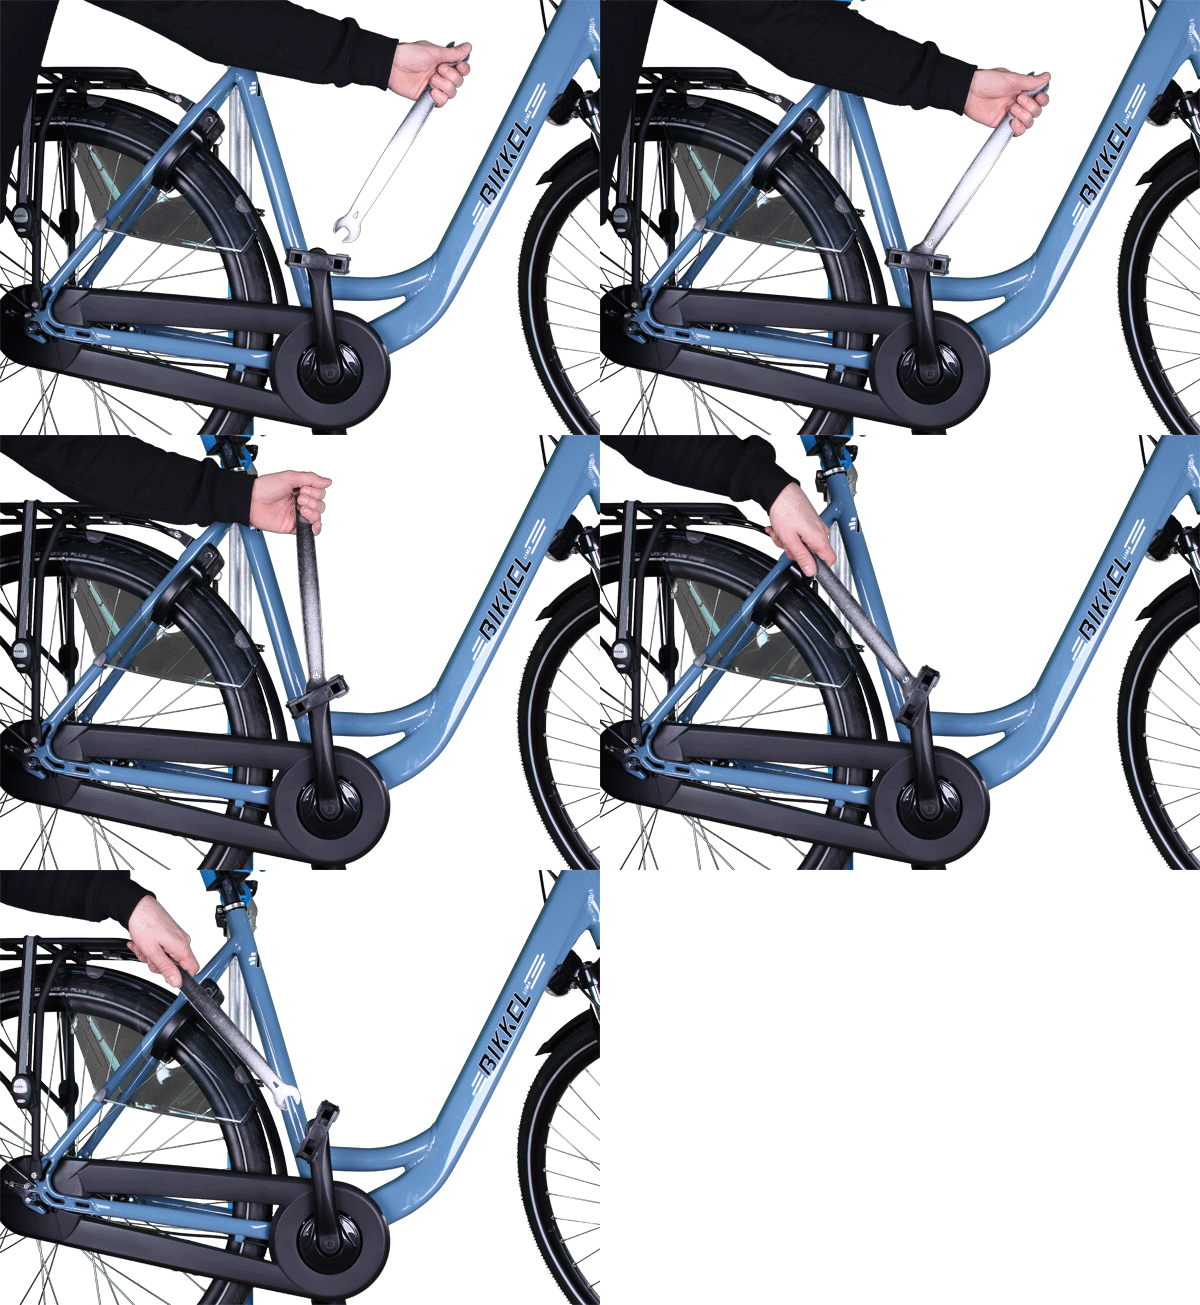
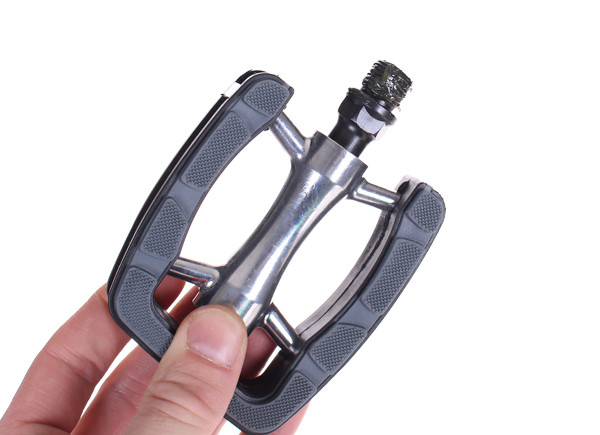
Pedals usually have a long service life, but their bearings may suffer wear over time.
You may notice the pedals starting to squeak and grind or no longer turning quite as smoothly as before.
Even if your bearings are still fine, there may be other reasons to replace the pedals, like the anti-slip coating being worn.
Tuning up a new bicycle always includes pedal work.
- Fast delivery
- International delivery
- 8.9/10 customer reviews
- 2-year warranty
- Webshop Trustmark

- Easy
- 3 steps
- 10 minutes
Step by step guide; City bike pedal replacement guide
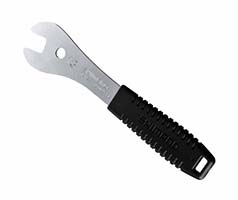
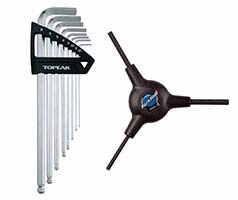
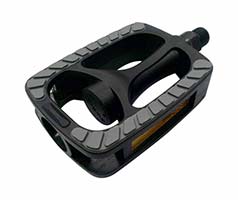
What you'll need
Important to know before you begin
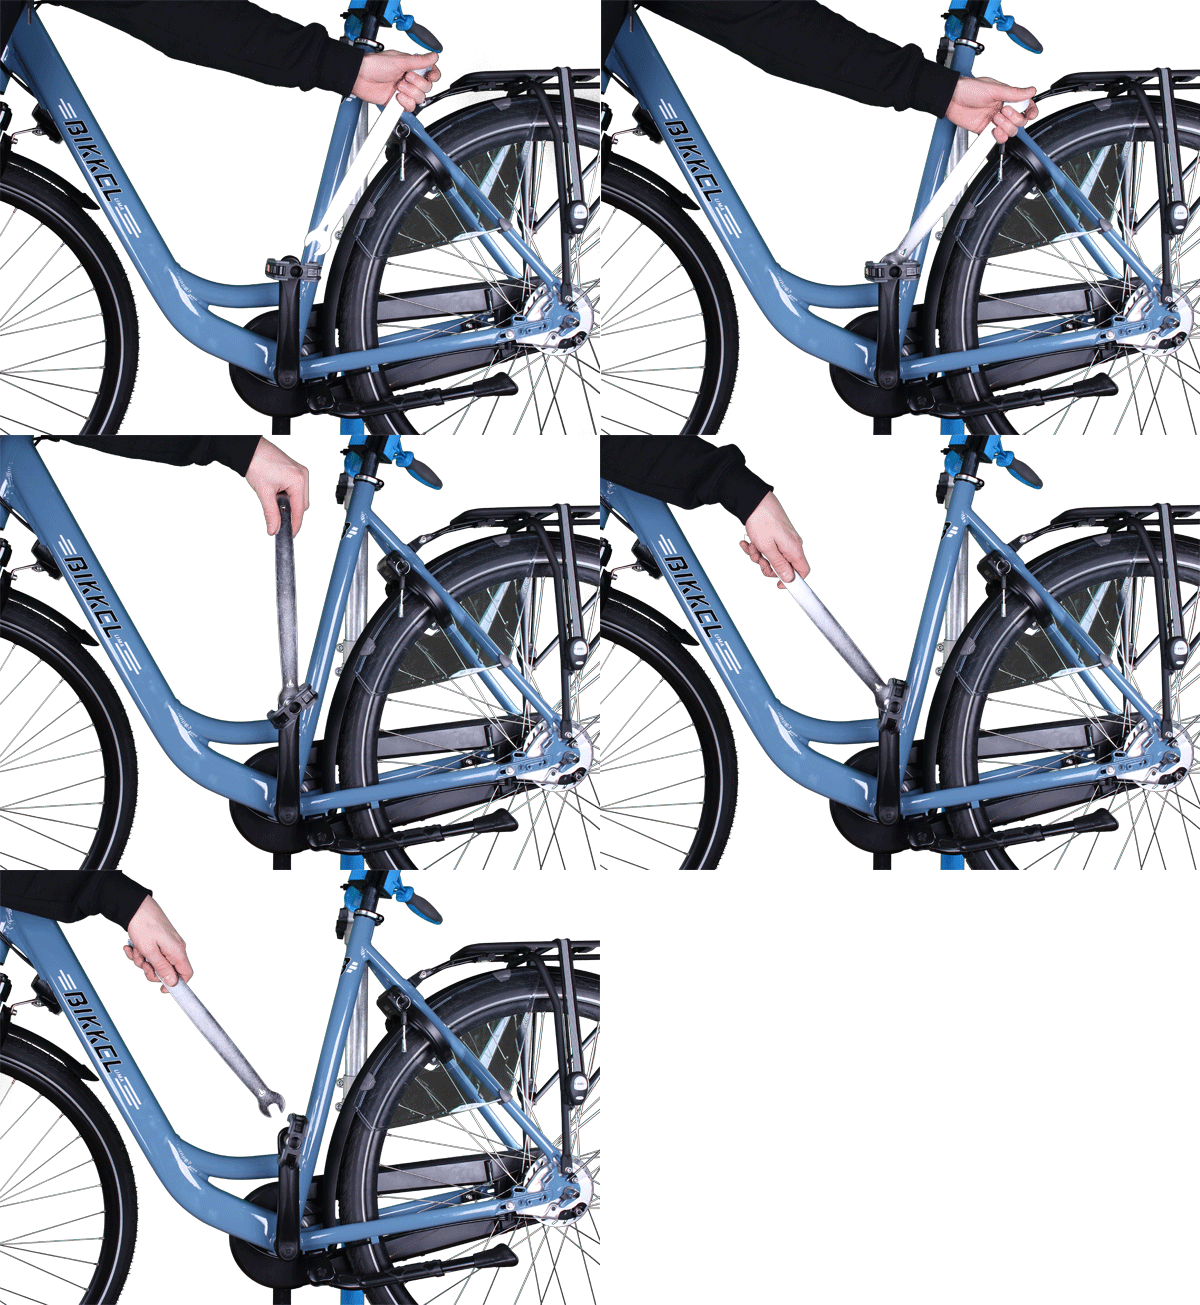
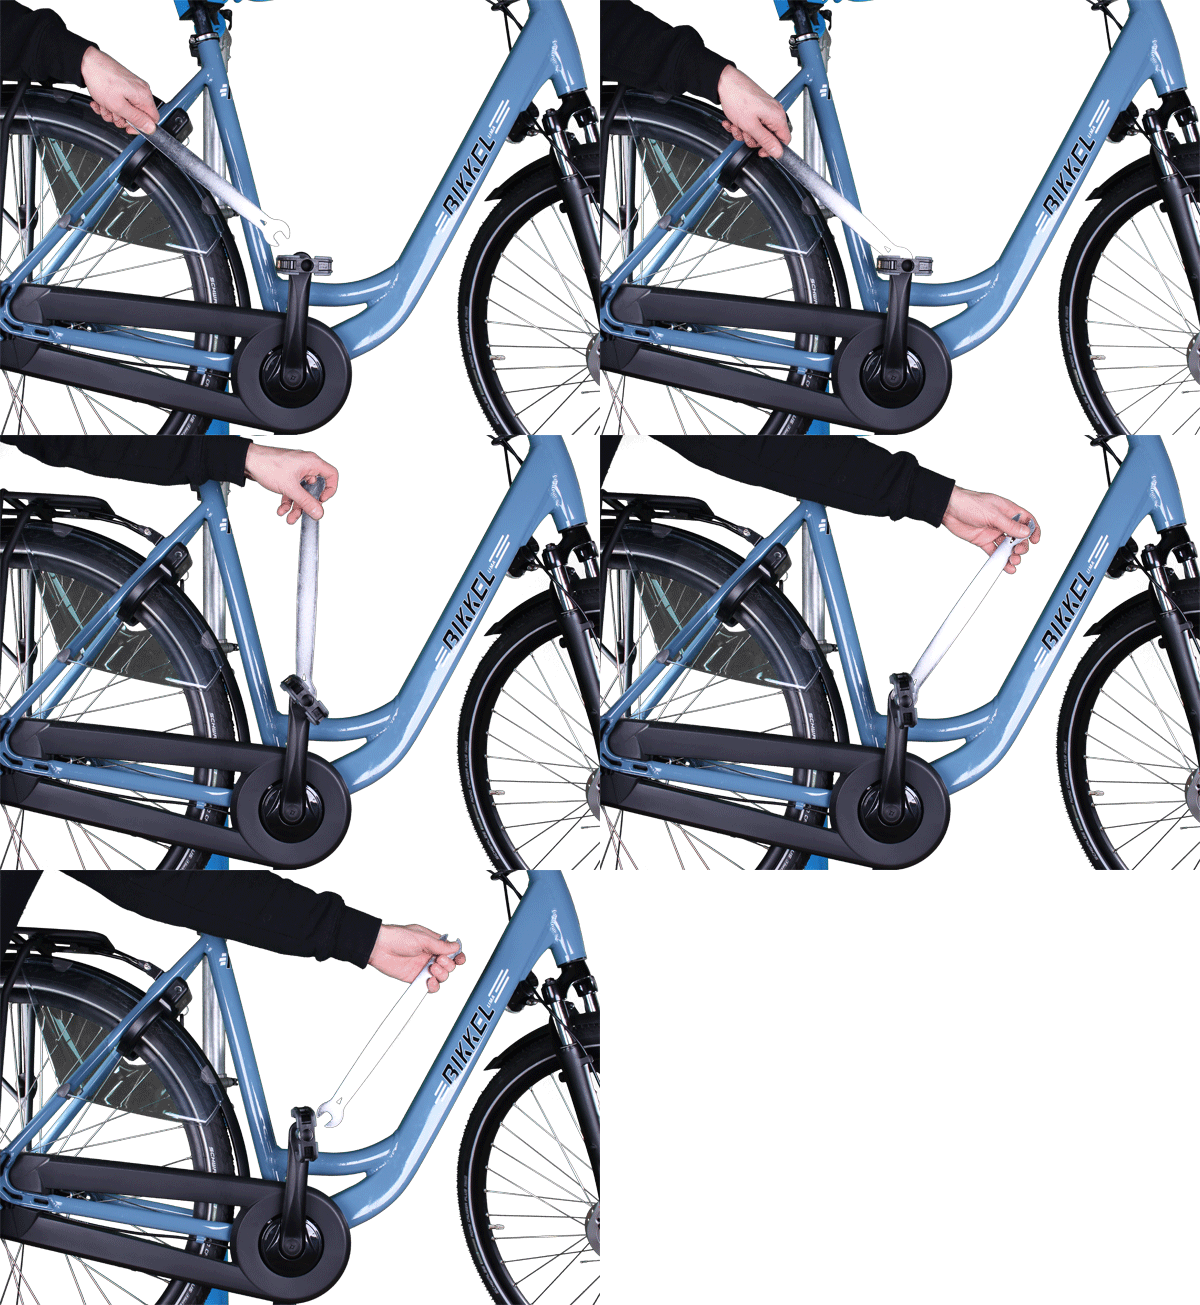
While replacing a pedal seems easy enough, there are a few things that might go wrong. It can be especially difficult to loosen and remove the pedals on older bicycles.
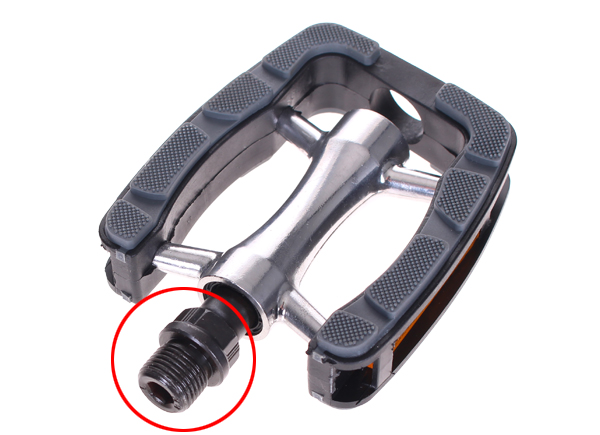
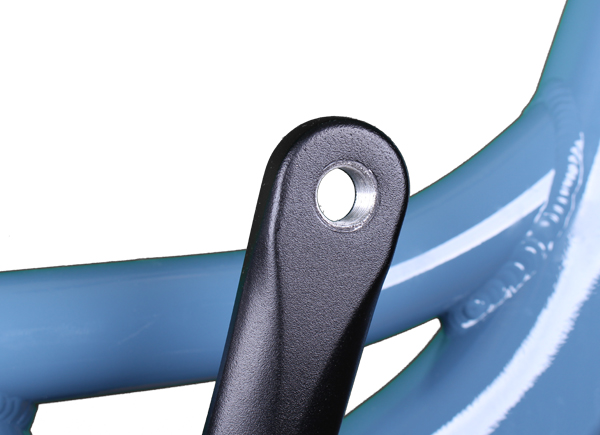
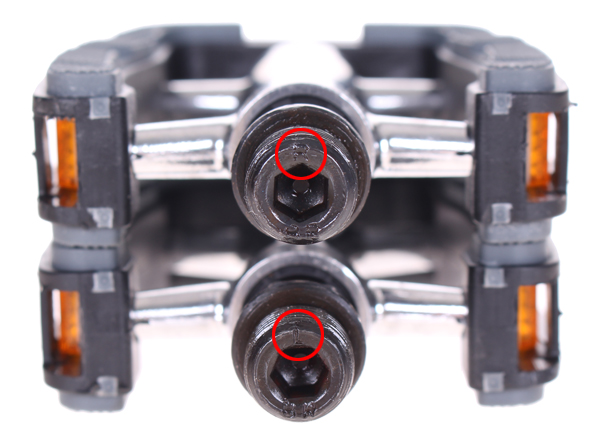
It’s important that each pedal is installed on the correct side. Pedals are designed not to loosen while you’re cycling.
From the cyclist’s point of view (facing the handlebars and front of the bicycle), every bicycle has a left side and a right side.
Pedals are usually marked with an “L” and an “R” for left and right. The pedal marks are often in different places for different brands and pedal types.
95% of all city bike pedals for adults are 9/16”. Children’s bike pedals may be 1/2”.
Do you have any questions?
Our team of enthusiastic colleagues is ready to help you.
+31 (0)70 - 300 00 44helpdesk@hollandbikeshop.com

Everything you’re looking for, clearly in one place
- Drivetrain
- Drivetrain (City)
- Tires & Tubes
- Luggage Carrier
- Bicycle Saddle
- Mudguard
- Chain Guards
- E-Bike Parts
- Bicycle Wheels
- Handlebars
- Pedals
- Brakes (Sport)
- Brakes (City)
- Bicycle Lights
- Children's Bike Seats
- Bicycle Baskets
- Bicycle Locks
- Car Bike Racks
- Bicycle Pumps
- Tools & Maintenance
- Bicycle Kickstands
- Bike Computers
- Nutrition
- Bike Protection
- Children's Bike Accessories
- Bicycle Trailer
- Bicycle Seat Junior
- Women's Wear
- Women's Rain Wear
- Men's Wear
- Men's Rain Wear
- Cycling Wear for Kids
- Rain Wear for Kids
- Protective Clothing
- Electric Bike
- City Bikes
- Transport Bikes
- Folding Bike
- Buying a Children's Bike
- Toddler Bikes
- Special Bikes
- Fast delivery
- International delivery
- 8.9/10 customer reviews
- 2-year warranty
- Webshop Trustmark
